Tell us about any of your Land Rover related projects here.
-
weetchus
- Pastry Chef
- Posts: 676
- Joined: Wed Aug 15, 2018 3:15 pm
Post
by weetchus » Tue Jan 22, 2019 3:12 pm
Okay, a more fun task than getting a relay out. I enjoy doing some of the smaller jobs in between the big ones.
Here is the handbrake when I had removed quite a bit of the old paint... I did get it shiny but no pic.

- Screen Shot 2019-01-22 at 11.08.59 am.png (1.76 MiB) Viewed 2700 times
Here is the connection assembly at the rear, bagged and ready for rebuilding:

- Screen Shot 2019-01-22 at 11.11.12 am.png (2.39 MiB) Viewed 2700 times
and the painted components:

- Screen Shot 2019-01-22 at 11.12.25 am.png (1.9 MiB) Viewed 2700 times
All ready to go back on.
-
weetchus
- Pastry Chef
- Posts: 676
- Joined: Wed Aug 15, 2018 3:15 pm
Post
by weetchus » Tue Jan 22, 2019 3:25 pm
While taking apart the windshield, the annoying phillips head screws stripped and I had to drill them out. I think I broke 6 drill bits. Anyway, two of the little aluminium strips that hold the glass to the frame were damaged so I went to see a friend at a tyre shop and solar panel building company. He has a sheet bending machine and plenty of aluminium laying about. Here is one of the strips being bent.
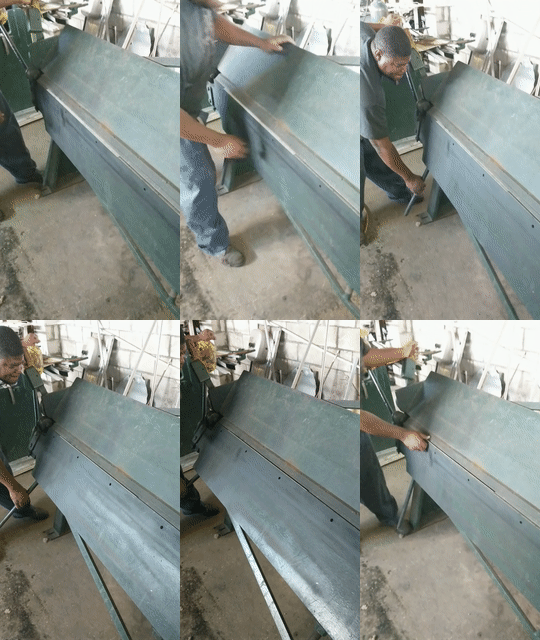
- ezgif-5-71d347671314.gif (2.32 MiB) Viewed 2699 times
-
Landie68
- Master Baker
- Posts: 1564
- Joined: Sat Dec 03, 2016 6:31 pm
- Location: Herefordshire
Post
by Landie68 » Thu Jan 24, 2019 5:33 pm
Very handy man to know
Regards
Richard
Discovery Sport
15FM83 ex 15 Para and 7 PO's
-
weetchus
- Pastry Chef
- Posts: 676
- Joined: Wed Aug 15, 2018 3:15 pm
Post
by weetchus » Mon Feb 04, 2019 1:45 pm
I take it back about this method. It is a pain to get the thrust washers in place and when I got it all inside the relay, filled with oil, re-gasketed and sealed... it was stiff as anything. I had to undo it all again and basically the thrust washers are scored and ruined. So new ones will have to be ordered. You can see the damage in the photos below and the new gaskets I had to make again. This time I'm keeping a template.

- Screen Shot 2019-02-04 at 9.39.37 am.png (2.08 MiB) Viewed 2644 times
[/quote]

- Screen Shot 2019-02-04 at 9.40.13 am.png (2.02 MiB) Viewed 2644 times
So instead, I have made a 'special tool' which is basically based on this (see PDF download):
https://www.lrukforums.com/threads/stee ... ay.225061/
And it works... mine is much cruder however as I don't own a MIG welder... yet.
Thank you 'Serious Series'
weetchus wrote: ↑Tue Jan 22, 2019 3:07 pm
I thought the relay looked too awful to restore, but it looks amazing now I have cleaned it up. Pic to follow.
But I wanted to give cnfowler a huge shout out for this awesome guide to rebuilding the relay:
http://forums.roversnorth.com/showthrea ... uild-Guide
I followed it carefully:
Screen Shot 2019-01-22 at 11.01.40 am.png
You get to the stage when s/he says:
"Place the steel washer on each end of the spring, then fit the bushings. Hold them in place with hose clamps. Once the compressed spring holders are removed, the hose clamps and bushings are the only thing holding the spring in place. Be careful."
Here is mine at this stage:
Screen Shot 2019-01-22 at 11.02.26 am.png
Note: you MUST get the bent spring holder edges to not overlap into the centre void of the spring. If they do, the shaft cannot go through. I spent a lot of time grinding and filing to get it right.
Okay, only issue is getting the spring holders off. It's s a challenge as I had to carefully prize them out and watch the spring ping horribly outwards, threatening the integrity of the hose-clamped bushings! Then the washer is actually misaligned and it is near impossible to re-centre these. I had to tap the thing into place and then drive it softly into the casing. Very nerve wracking. Anyhow, I think it has worked.
Everything is now reassembled and filled with oil... except for one of the silly bolt/screws that I threaded putting back in. So have a tap and die to sort a new 1/4 inch bolt.
-
landylees
- Pastry Chef
- Posts: 639
- Joined: Mon Jan 29, 2018 8:43 pm
- Location: Bishops Stortford
Post
by landylees » Mon Feb 04, 2019 8:15 pm
Are you sure it is the thrust washers causing the stiffeners? I am away from home at the moment, so can't look at my green bible. However, I seem to remember that the positioning of split bushes and/or lack of lubrication of split bushes can lead to stiffness...you adjust stiffness by changing the position of the split bushes...
1965 Series IIA 88" 200tdi
1968 Series IIA LWT 12v GS RHD [34-FG-95]
1976 Series III LWT 24v FFR RHD [45-GF-53]
-
weetchus
- Pastry Chef
- Posts: 676
- Joined: Wed Aug 15, 2018 3:15 pm
Post
by weetchus » Wed Feb 06, 2019 12:26 am
Thanks for the tip.
You are right, but sadly I think I scored the thrust washer with the spring when it was all done up... when I went to readjust the split bushes I saw the damage.
Could as well replace as they are not looking great. The rest is fine I think.

quote=landylees post_id=78513 time=1549311307 user_id=22098]
Are you sure it is the thrust washers causing the stiffeners? I am away from home at the moment, so can't look at my green bible. However, I seem to remember that the positioning of split bushes and/or lack of lubrication of split bushes can lead to stiffness...you adjust stiffness by changing the position of the split bushes...
[/quote]
-
weetchus
- Pastry Chef
- Posts: 676
- Joined: Wed Aug 15, 2018 3:15 pm
Post
by weetchus » Wed Mar 06, 2019 6:39 pm
So I've moved onto another smallish project. Refurbishing the accelerator linkage.
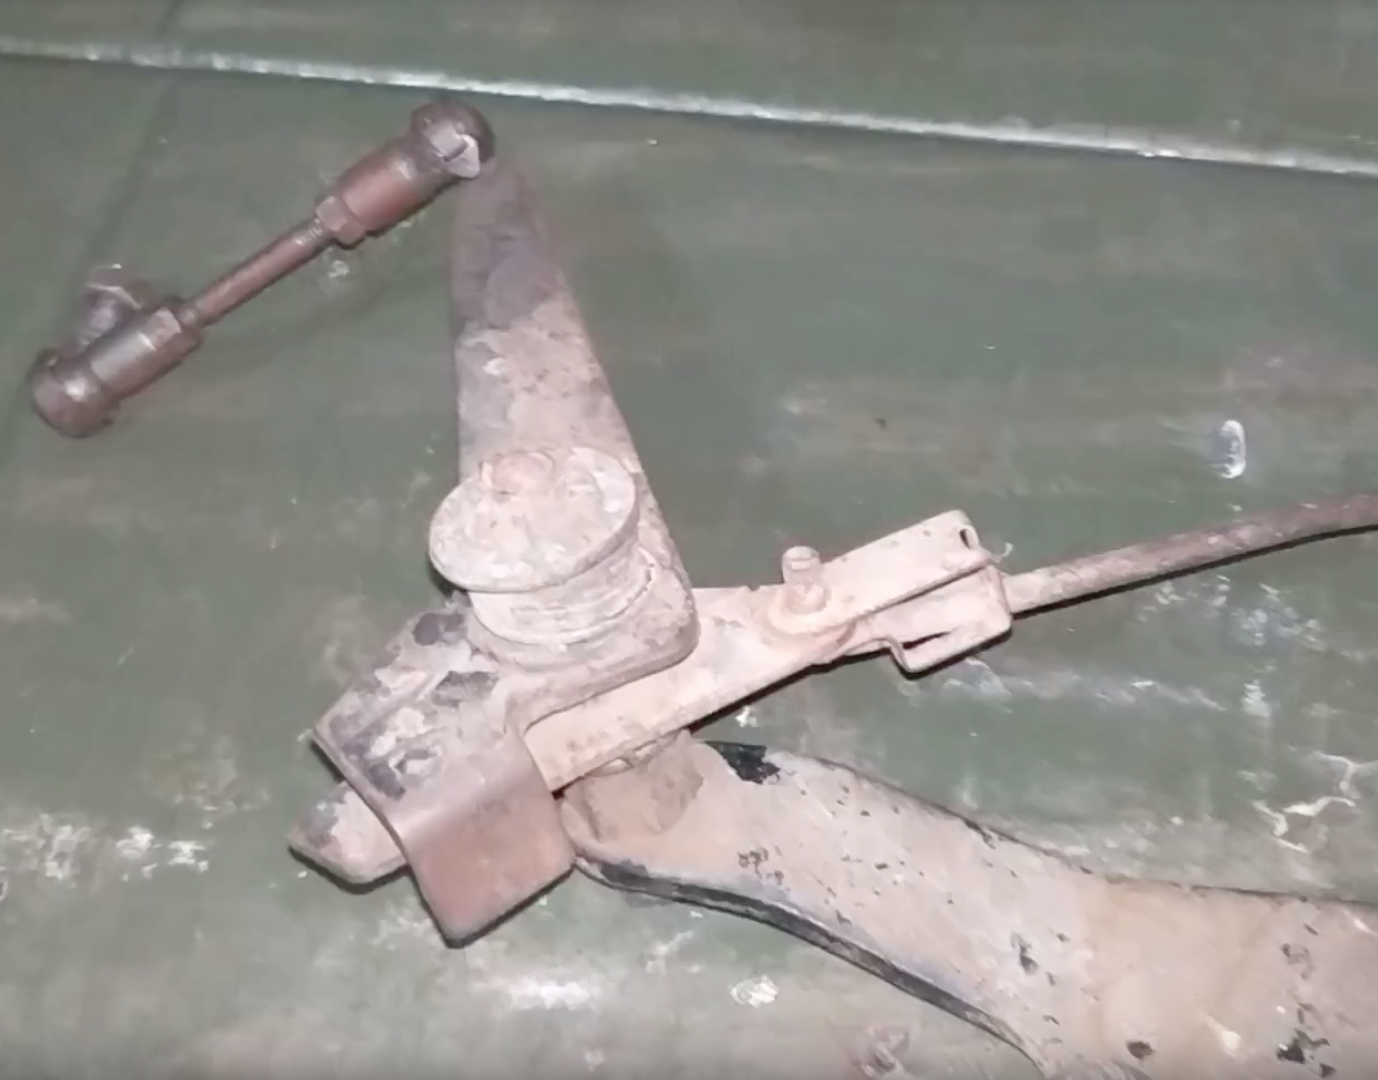
- Screen Shot 2019-03-06 at 2.15.46 pm.png (1.31 MiB) Viewed 2526 times
I've taken every piece of it apart and created what looks like an art installation


- Screen Shot 2019-03-06 at 2.18.34 pm.png (1.67 MiB) Viewed 2526 times
I played around with Electrolysis for the first time. It works pretty well, converting rust into a black and stable thing called magnatite... apparently. You can even get iron back into the lost metal! Also, it is a terrific paint stripper. Any bits of old paint melt off and you just need to scrape with your fingernail and off it comes.
Note the children's science book, it was handy in explaining how it all worked...

- Screen Shot 2019-03-06 at 2.21.25 pm.png (2.46 MiB) Viewed 2526 times
but the real legend is the man behind this video, Geoffrey Croker (skip to 14:54mins if you want to learn about electrolysis).
https://www.youtube.com/watch?v=Qi-tK1jwO-k&t=937s
-
weetchus
- Pastry Chef
- Posts: 676
- Joined: Wed Aug 15, 2018 3:15 pm
Post
by weetchus » Wed Mar 06, 2019 6:45 pm
So I used a polishing machine and got everything to a lovely shine. Looks brand new. Including the accelerator pedal. Now I have an idea that may have never been done to a Lightweight. I am going to try nickel plating the pedal. Here is a link about electroplating that I love... again from Geoffrey Crocker
https://www.youtube.com/watch?v=G-PtnwtOR24
If the pedal is easy, then I might do the shaft and anything inside the vehicle. I may then try using zinc to galvanise the engine bay parts of the linkage. In Barbados we do not have access to galvanising... only thermal galvanising which makes all parts have a painful sandpaper like texture.
-
weetchus
- Pastry Chef
- Posts: 676
- Joined: Wed Aug 15, 2018 3:15 pm
Post
by weetchus » Wed Mar 06, 2019 6:51 pm
Next up was the steering.
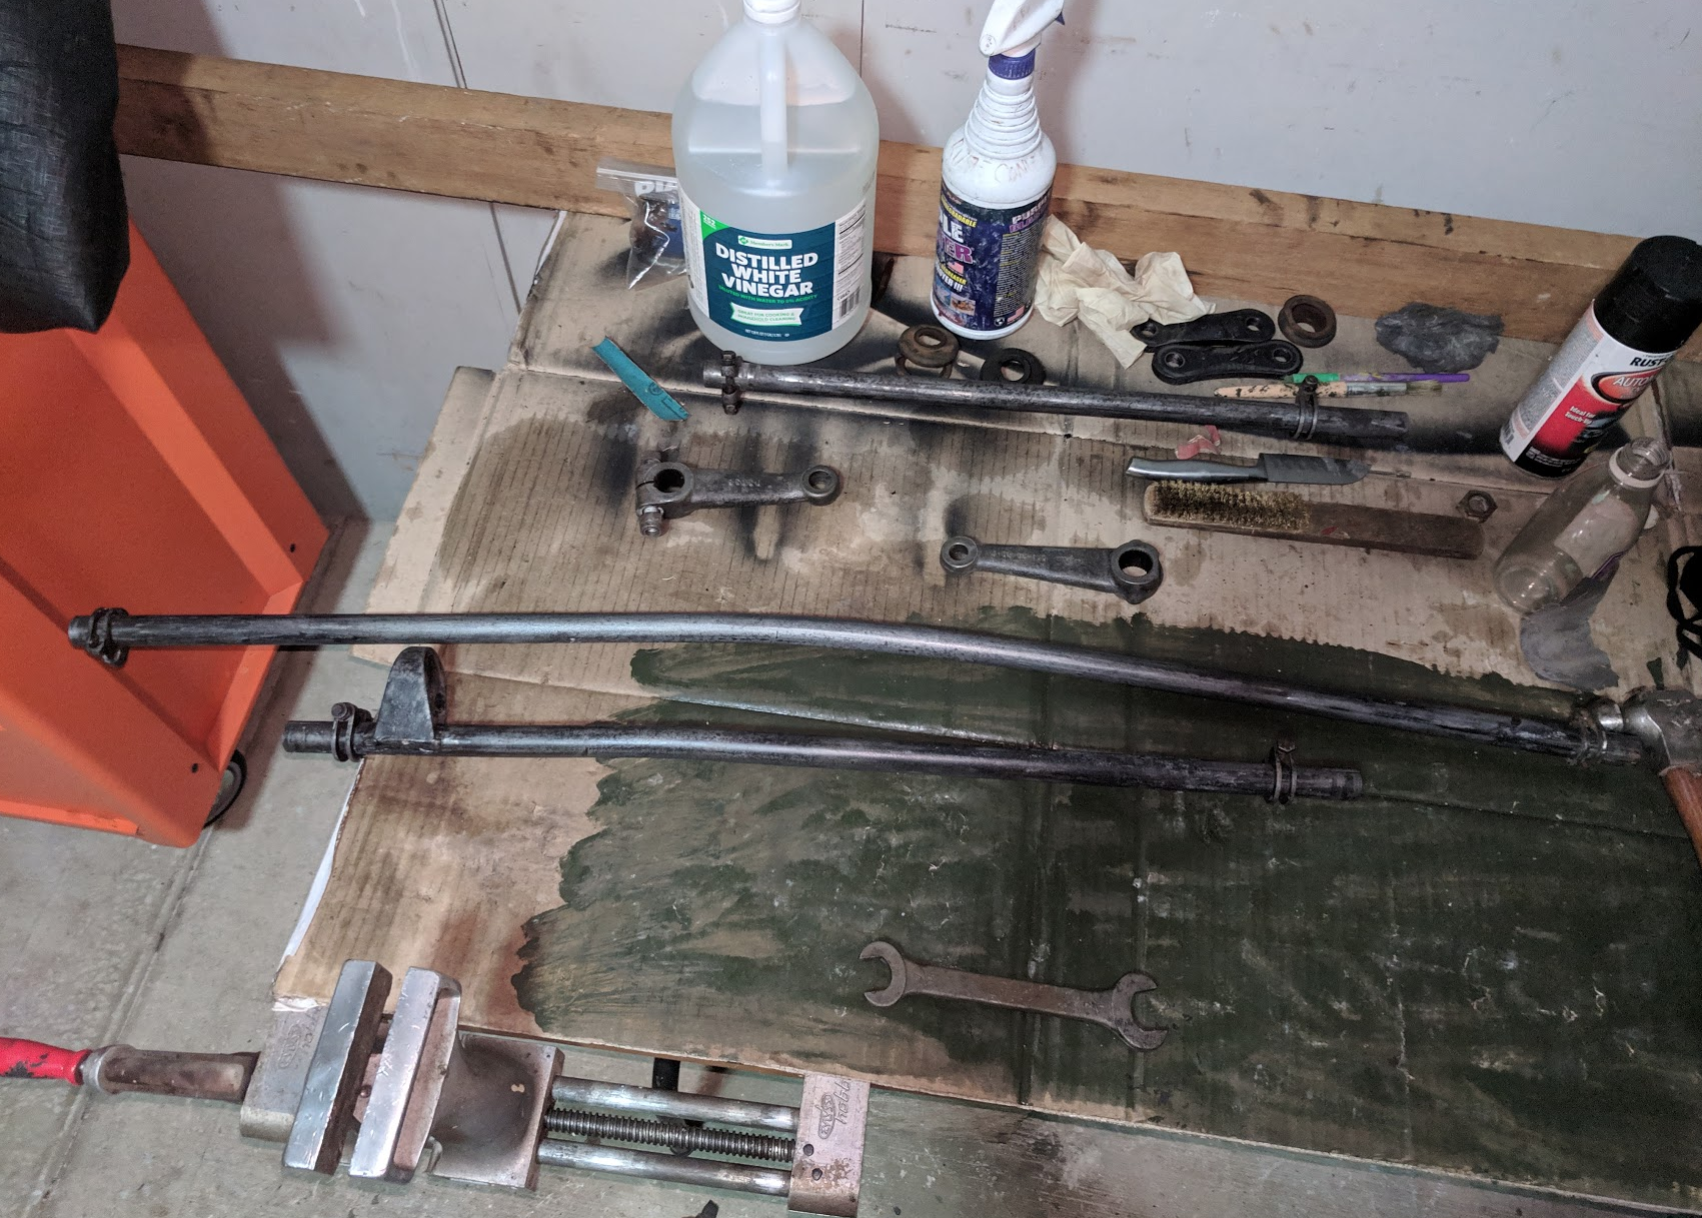
- Screen Shot 2019-03-06 at 2.45.09 pm.png (3 MiB) Viewed 2526 times
Look at the bend in that track rod. The drag link was also badly bent. So I took it to this guy to straighten. Kim, I believe is his name.

- Screen Shot 2019-03-06 at 2.47.24 pm.png (2.63 MiB) Viewed 2526 times
Now this guy was bending the rods with skill and oil pouring everywhere from a bad 'o' ring in his press. Note that he is smoking. Check out how he lit his cigarette.
https://photos.app.goo.gl/axua2iYg23iT3BE78
I've now painted the rods and am putting on the tie rod ends shortly. I'm going to have to reuse old ones that seem okay and replace two with new ones.
-
weetchus
- Pastry Chef
- Posts: 676
- Joined: Wed Aug 15, 2018 3:15 pm
Post
by weetchus » Wed Mar 06, 2019 7:02 pm
Okay, now this was a big moment. Getting the upper bulkhead back from my welder. I don't have the skills (any yet) to do this. He basically saved a rusted piece of junk... taking it from this:
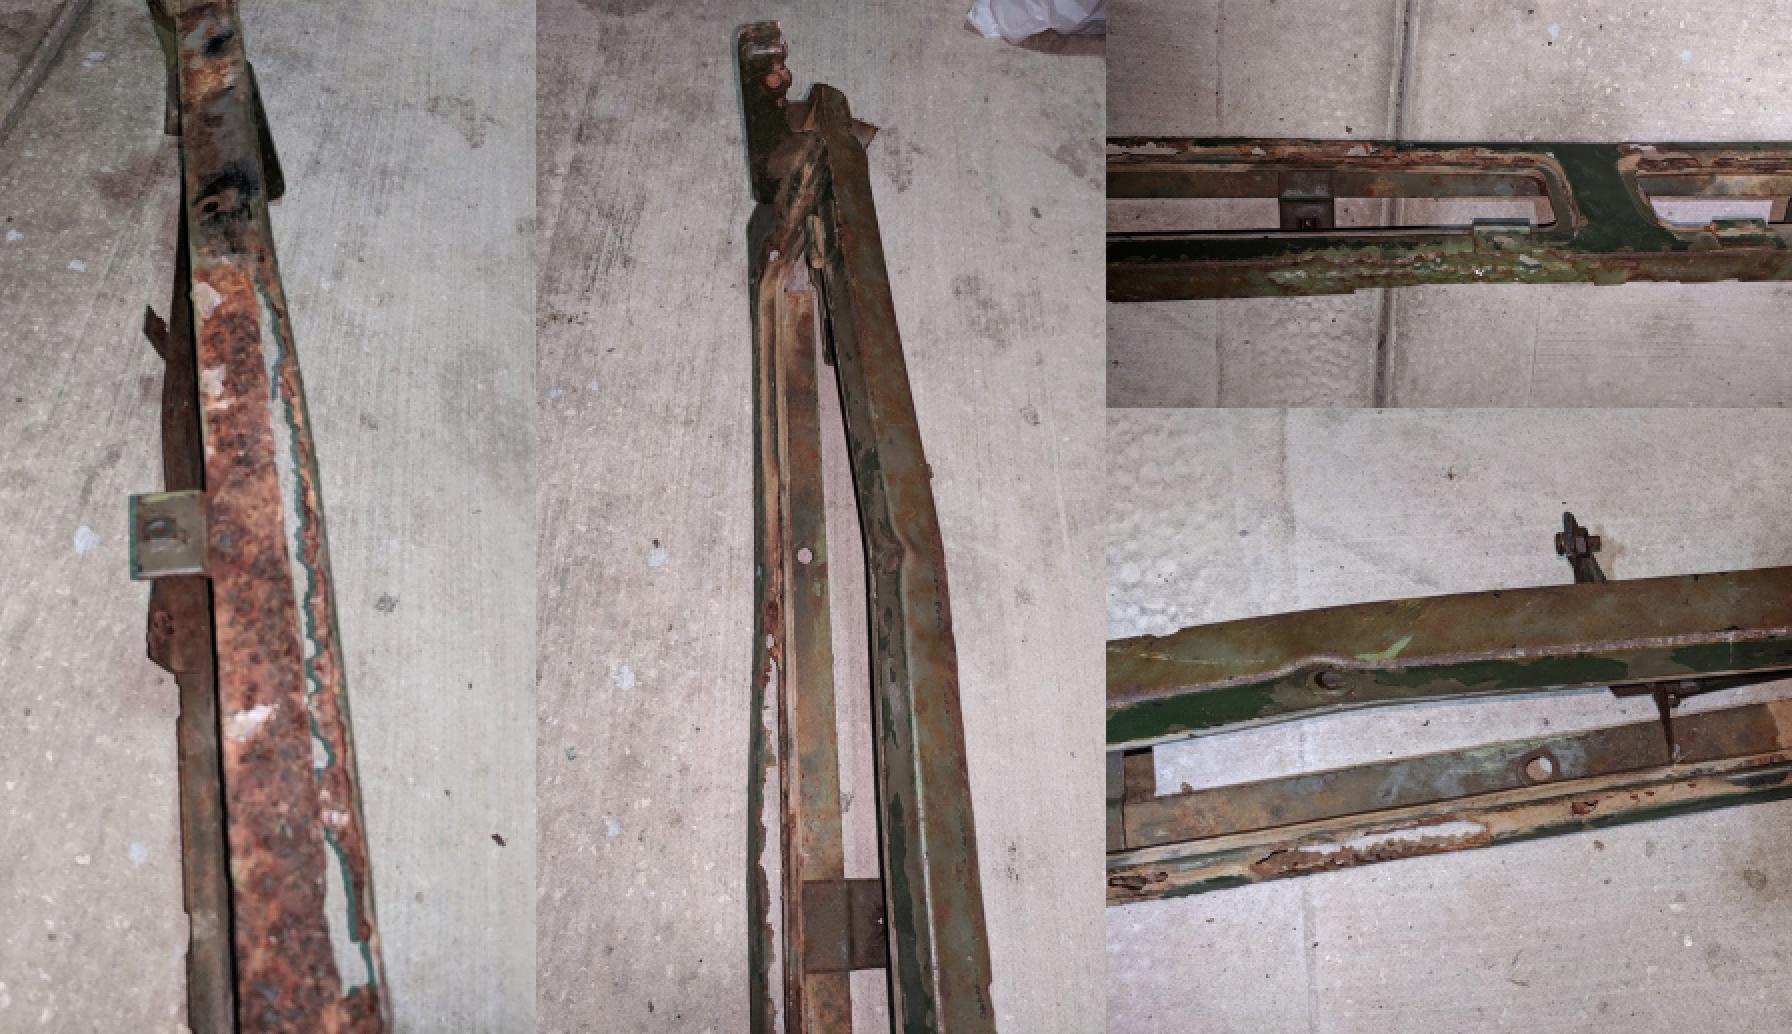
- Screen Shot 2019-03-06 at 2.55.34 pm.png (1.18 MiB) Viewed 2525 times
Adding bits I got made:

- Screen Shot 2019-03-06 at 2.56.26 pm.png (1.96 MiB) Viewed 2525 times
and creating this:

- Screen Shot 2019-03-06 at 2.59.41 pm.png (1.45 MiB) Viewed 2525 times
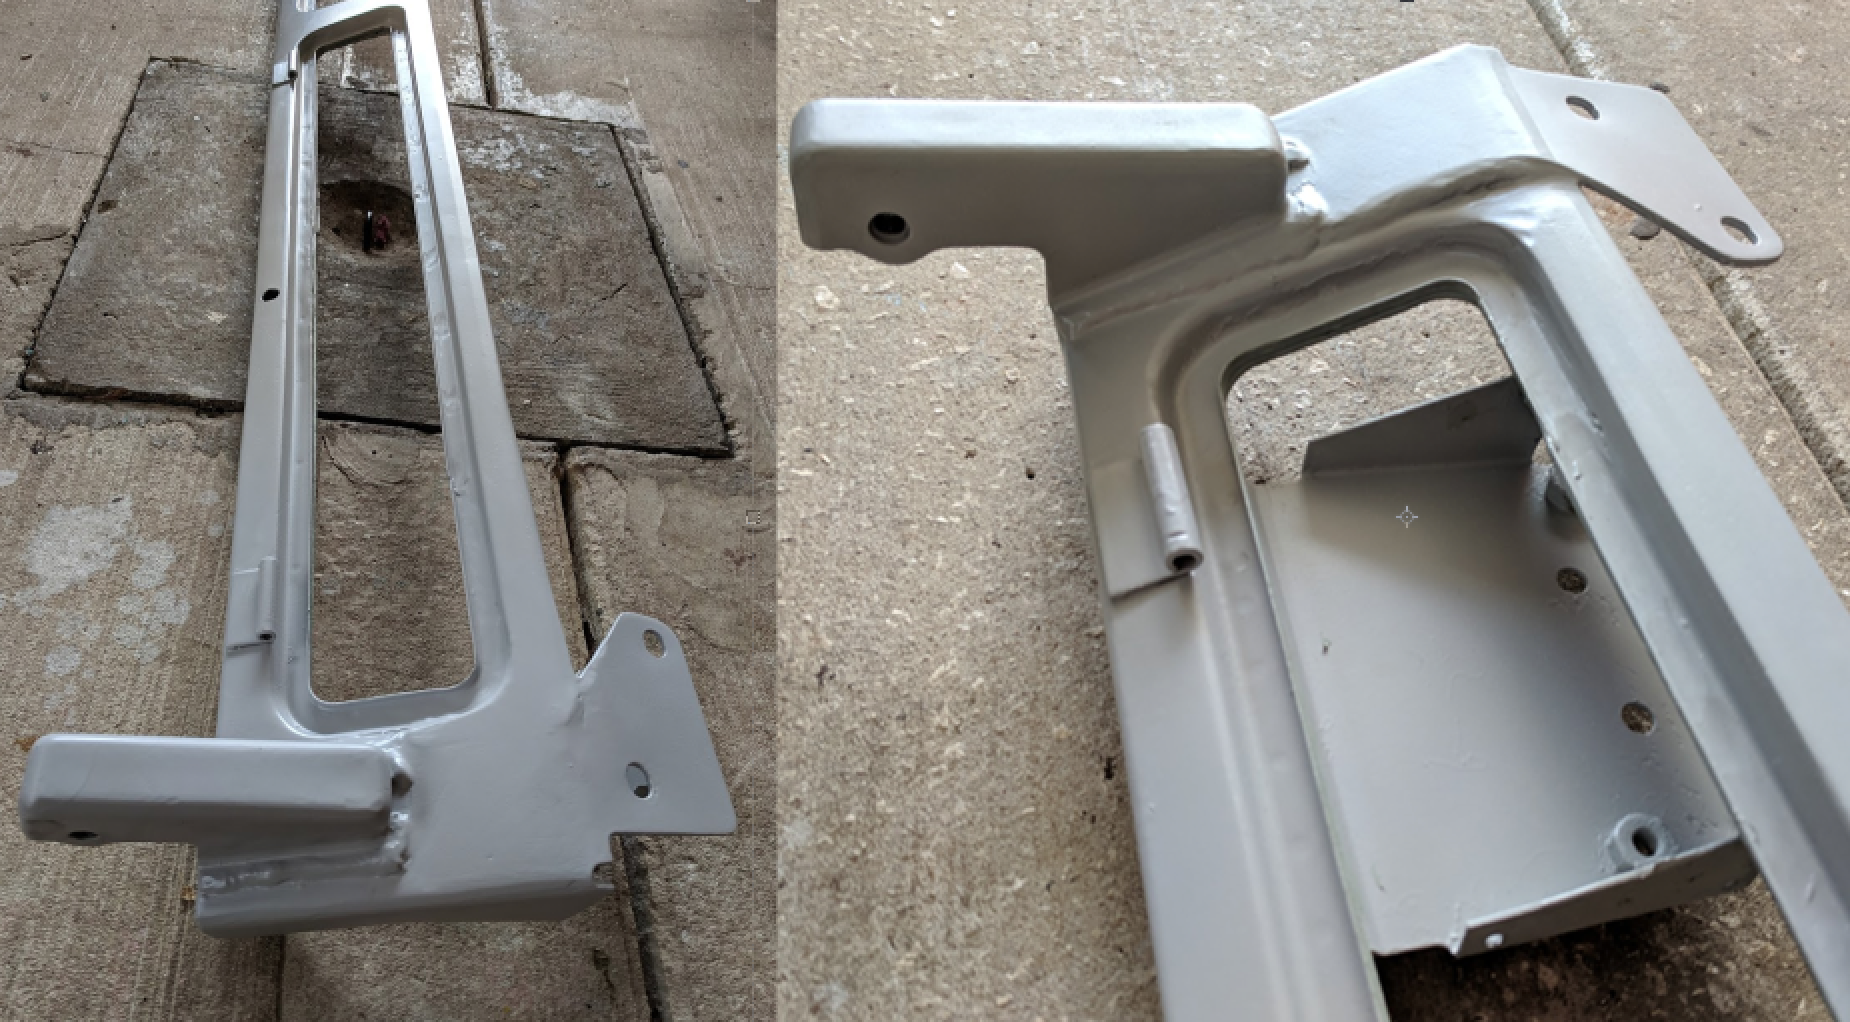
- Screen Shot 2019-03-06 at 2.59.10 pm.png (1.2 MiB) Viewed 2525 times
I am definitely giving him the lower bulkhead to do. It would have cost me about £1,500 to get one sent here, plus taxes etc... I got this all done for £210.
Result.